Simple Homemade Veggie Stock
Prep Time: 5 minutes
Total Time: 2-3 hours (mostly unattended)
Servings: ~4-6 cups
Why This Recipe Exists (And Why I Love It)
I learned how to make my own stock from a Bon Appétit article a few years ago, and I’ve never looked back. It felt like unlocking a hidden level of kitchen wisdom: a way to use every last bit of produce, reduce waste, and elevate my cooking—all from scraps I would’ve tossed.
Veggie stock is especially satisfying because it’s so simple. Onion skins, kale stems, the tough ends of carrots or broccoli—nothing goes to waste. I keep a compostable quart-sized baggie in the freezer and add to it as I cook. When it’s full (or looking like it's about to turn), I toss everything in a pot and let it simmer into liquid gold.
Bonus tip: There's a difference between stock and broth.
- Stock is made with scraps or bones and is typically unseasoned.
- Broth is often seasoned and ready to sip.
This version? Definitely stock. Pure, simple, and ready to star in soups, sauces, risottos, and more.
Why You’ll Love This Recipe
- Zero-waste: saves money and uses up scraps
- Totally customizable to your favorite flavors
- No salt means you control seasoning later
- Perfect base for soups, grains, sauces, and more
- A cozy, low-effort Sunday kitchen ritual
Ingredients
From the Palate Patch Garden
All those amazing veggie scraps:
- Onion and garlic skins
- Carrot peels
- Kale or collard stems
- Cauliflower or broccoli cores
- Celery tops
- Fresh herb stems (parsley, thyme, cilantro)
- Pepper scraps (optional for extra flavor)
For the Stock:
- 1–2 bay leaves
- Water (enough to cover all scraps)
Instructions
Step 1: Save your scraps
- As you cook throughout the week, collect your vegetable trimmings in a compostable bag or freezer-safe container. Store in the freezer until you have enough to fill a medium-large stock pot.
Step 2: Add to pot
-
Dump the frozen scraps into a large stock pot or Dutch oven. Add 1–2 bay leaves.

Step 3: Simmer & Reduce
- Fill with water until all veggies are covered. Bring to a boil, then reduce heat to a low simmer.
- Simmer uncovered for 2–3 hours, stirring occasionally. The water will reduce and darken into a rich, flavorful stock.
Optional: For even more concentrated flavor, reduce, add more water, and reduce again.
Step 4: Strain & Store
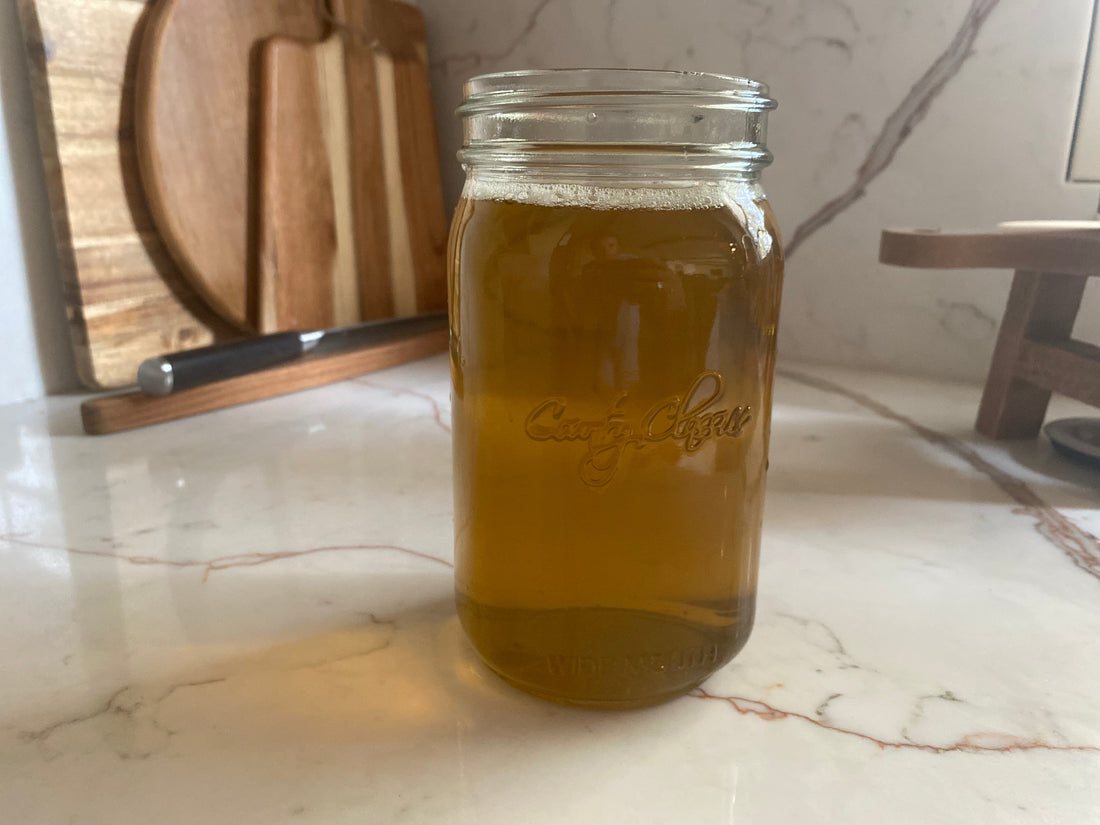
- Strain the liquid through a fine-mesh sieve. Compost the solids.
- Let cool, then store stock in jars or containers. Freeze what you won’t use in the next 3–4 days.
Notes & Tips
- Don’t salt the stock—season it when you use it in recipes later.
- Avoid bitter scraps like brassica leaves in excess (e.g., too many cabbage cores).
- Add dried mushrooms, ginger, or chili for global flavor twists.
- Freeze in ice cube trays for quick 1–2 tablespoon boosts.
- Use cheesecloth if you want extra-clear stock.
Serving Suggestions
- Use as a base for soups or stews
- Cook grains like rice, quinoa, or farro in it
- Add to risotto or pan sauces for depth
- Deglaze roasted veggies or meats with a splash
- Make a soothing mug of stock for chilly days
Storage & Reheating
- Store in the fridge for up to 1 week
- Freeze in containers or silicone molds for up to 6 months
- Reheat on the stove or in the microwave
FAQs
Can I use scraps that are wilted or soft?
Yes, as long as they aren’t moldy or slimy. Freezing scraps right away helps avoid spoilage.
What if I want to make it spicy or more aromatic?
Add jalapeño stems, peppercorns, garlic cloves, or ginger peels. Play with flavor!
Your Turn!
Made your own veggie stock from scraps? I’d love to see what’s in your pot. Tag @PalatePatchCSA on Instagram and share your kitchen magic. The more odds and ends, the better. Here’s to cooking that’s good for your food—and your palate.