Zippy & Quick Pickled Radishes
Prep Time: 10 minutes
Total Time: 1 hour, 15 minutes
Servings: 6-8
Why This Recipe Exists (And Why I Love It)
I’ve never met a pickled veggie I didn’t like—but pickled radishes? That’s a love story. These crunchy, slightly spicy root veg transform into something tangy, crisp, and beautifully pink with just a quick soak in vinegar and a few pantry spices.
This one’s inspired by the pickled veggies I used to devour in shawarma wraps from a Persian restaurant I’d sneak away to between fine dining shifts. They added the perfect acidic pop to every rich, savory bite. I’ve been chasing that flavor ever since, and now these radishes are my go-to for topping tacos, adding zip to a sandwich, or—let’s be honest—just sneaking forkfuls straight from the fridge.
Plus, it’s one of the easiest preservation methods out there. You’ll go from raw radish to pickle party in about an hour.
Why You’ll Love This Recipe
- Vibrant pink color for instant plate appeal
- Quick and easy—ready to eat in just 1 hour
- Just a few pantry ingredients
- Keeps in the fridge up to 1 month (but won’t last that long)
Ingredients
From the Palate Patch Garden
Radishes

For the Pickles
- 10 medium to large radishes (Easter Egg Blend or Cherry Belle are great!)
- ½ cup white vinegar
- ½ cup water
- ½ tablespoon sea salt
- 1¼ tablespoons sugar
- ½ teaspoon mustard seeds
- ½ teaspoon coriander seeds
Instructions
Step 1: Prep the Radishes
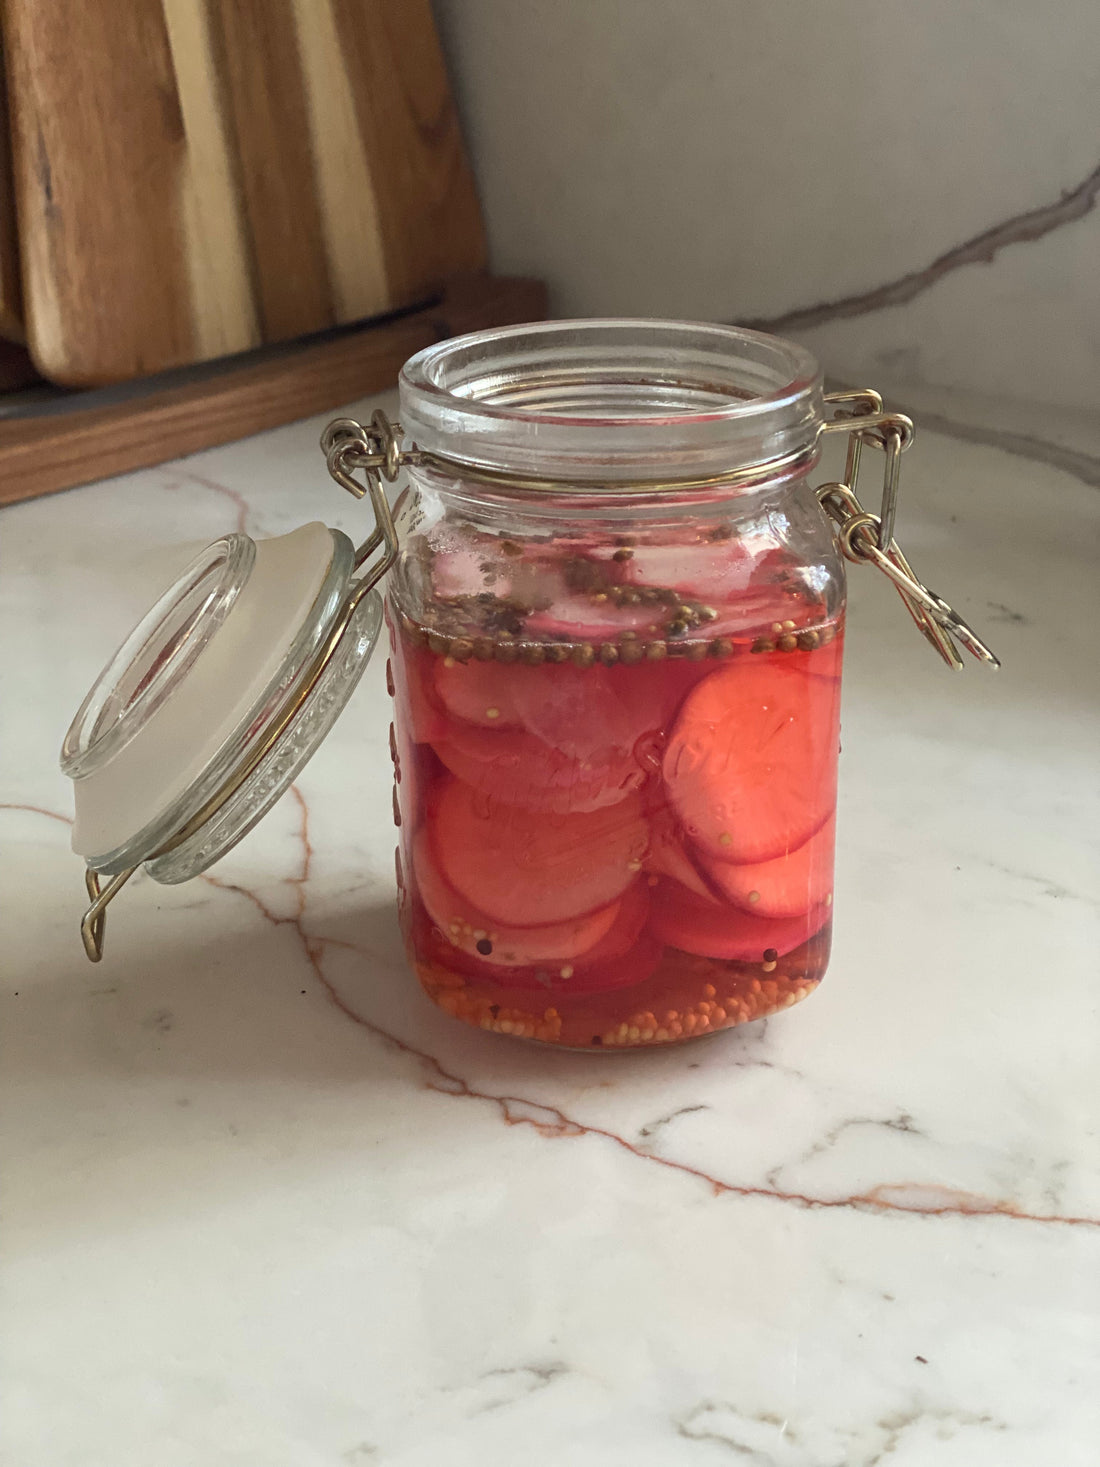
Clean the radishes and remove tops and root tips. Slice thinly—about ¼ inch thick.

Step 2: Pack the Jar
- Place sliced radishes in a clean glass pint jar.
-
Sprinkle mustard and coriander seeds over the top

Step 3: Make the Brine
- In a small saucepan, combine white vinegar, water, salt, and sugar. Heat over medium, stirring until the salt and sugar dissolve completely—about 1 to 2 minutes. Remove from heat.
Step 4: Pour & Pickle
- Pour the hot brine over the radishes until they are fully submerged.
- Let the jar cool to room temperature, then seal with a lid and refrigerate.
- You can eat them after just 1 hour, but the flavor deepens the longer they sit.

Notes & Tips
- DIY Spice Swap: Don’t have coriander seeds? Use peppercorns. I like using coriander seeds saved from last year’s cilantro harvest—extra full-circle.
- Consistency is Key: A mandolin works best for even and consistent slices (and faster slicing).
Serving Suggestions
- Tuck into sandwiches for crunch and acid
- Top tacos for a colorful, punchy twist
- Serve with falafel, shawarma, or any Middle Eastern spread
- Or just eat ‘em straight from the jar. No shame.
Storage & Reheating
- Keep sealed in the fridge for up to 1 month
- No need to reheat—these are best enjoyed cold and crunchy
- If you see the liquid start to cloud or lose aroma, toss and start fresh
FAQs
Can I use other types of vinegar?
Absolutely—rice vinegar or apple cider vinegar will each give a slightly different flavor. White vinegar is just the most neutral and budget-friendly.
Do I have to boil the brine?
Not boil, just heat enough to dissolve the sugar and salt.
Can I reuse the brine?
For best results, start fresh each time. But you can reuse once or twice within a week if you’re doing small batches.
Your Turn!
Tried this recipe? Tag @palatepatch in your radish makeover pics. We love seeing how you turn humble roots into something extra.